How To Clean Motorcycle Fuel Tank?
This page was last updated on 14-Jan-2025 06:39pm , By Saleh
A motorcycle is a combination of several machines. Therefore, it requires periodic maintenance and services of different parts to keep the motorcycle perfectly performing all the time. Accordingly, cleaning a motorcycle fuel tank is essential for maintaining a perfectly working fuel supply system and the engine’s performance, fuel efficiency, and longevity. Therefore, here we will learn about how to clean motorcycle fuel tanks.
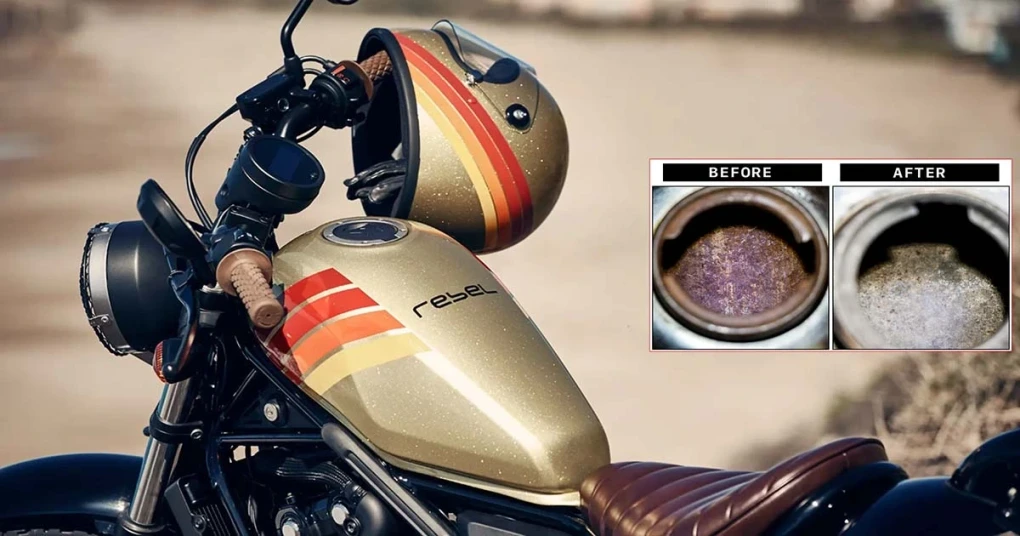
How To Clean Motorcycle Fuel Tank?
Cleaning a motorcycle fuel tank might seem like a complex maintenance task to some people. But following some basic steps you will get it a really manageable and simple process. However, before getting the work started we will need some basic materials, and those are mentioned below.
Materials You’ll Need
>> Protective gloves and goggles to keep you safe.

>> Wrench, screwdriver, and other tools to disconnect the tank from the motorcycle.
>> Drain pan for catching fuel.

>> Rust remover or fuel tank cleaning agent.
>> Clean water for rinsing the tank.
>> Isopropyl alcohol to remove moisture from the tank.
>> Cleaning brush for scrubbing easy-to-reach spots.
>> Compressed air or air blower.
>> Clean dry clothes or paper towels.
Prepare the Motorcycle & Remove The Fuel Tank
Before cleaning the Motorcycle fuel tank, get in a place with good ventilation and if possible work in an open space. Then, park the motorcycle on a solid and plain surface. Then, to minimize any possibility of an electric shock to the fuel, disconnected the motorcycle battery line.
For your body protection, you should do the following: wear protective clothing such as protective glasses, and hand gloves. Locate the fuel line and switch off and disconnect the fuel line. Next, you must drain the fuel from the tank and preserve it in a safe container in a safe place.
Also Read: FLAMINGO TOWELS 3PCS Price In Bangladesh
After draining the fuel completely then unbolt and remove the fuel tank from the motorcycle using the wrench, screwdriver, or other necessary tools. It will make the cleaning easier.
Clean the outside of the fuel tank using mild detergent and water. Remove any dirt or dust on the tank's outer surface. Then dry it thoroughly with a clean cloth.
Remove Rust And Buildup Inside The Tank
To clean the inside of the fuel tank, pour specialized fuel tank cleaner or rust remover into the tank. For the process follow the product instructions. These chemicals will dissolve and loosen rust and sediment inside.
Close the tank cap and let the cleaner liquid sit inside the tank for the recommended time. This will loosen the rust deposit in a few minutes to hours. It depends on the level of corrosion, so again follow the product instructions.
For effective results, you can shake the tank gently to ensure the cleaner can go to all areas inside the tank. Also, you can use a cleaning brush to scrub and clean any easy-to-reach area inside the tank.
Rinse The Fuel Tank Thoroughly
After the cleaner has done its job and cleaned the loose rust and derbies pour it out completely. If required you can do the job again by pouring fresh cleaning liquid inside the tank. Then to clean out all the loosened rust and derbies fill the tank with clean water. Shake it and then pour it out. Repeat this step a few more times until the tank gets clean completely.
In the last phase, you can pour a small amount of isopropyl alcohol into the tank. Shake it well and then drain it out. It will remove any moisture left inside as alcohol helps absorb water and dries faster than water. Or as another option you can dry the tank using an air blower or just leave it under the sun. But be sure the tank is thoroughly dry, as any remaining moisture can cause rust.
Reinstall The Fuel Tank And Refill
So once you are done with the drying process put it on the motorcycle and reconnect the fuel lines and any other electrical connections carefully. Fix and fasten the blots and clumps which are detached during removing the fuel tank from the motorcycles.
Once, the fuel tank is installed properly and fixed all the connections and fasteners, refill it with fresh fuel. Reconnect the battery lines or other connections which are disconnected before the cleaning process. Then get the motorcycle started and rev softly. You also can take a test ride to make sure that the entire fuel supply system is absolutely ok, and thus you are done.
So, this is the simple process to clean a motorcycle fuel tank effectively. Regular cleaning and maintenance of the fuel tank not only keep your motorcycle fuel line clean but also keep the motorcycle running efficiently and also extend the engine life. Thus, you will enjoy better performance from your motorcycle, face fewer mechanical issues, and enjoy trouble-free ride every time.

