How To Bleed ABS Featured Motorcycle Brakes?
This page was last updated on 14-Aug-2024 07:12am , By Saleh
Motorcycle brakes are a crucial component that ensures rider safety and allows control over the motorcycle. Accordingly, maintaining the brake system of motorcycles is essential to confirm their workability and performance. However, bleeding the brakes is an important maintenance task. If your motorcycle is equipped with an ABS (Anti-lock Braking System), the bleeding process requires some additional steps. Here, we will walk you through the process of bleeding ABS-featured motorcycle brakes.

How to Bleed ABS Featured Motorcycle Brakes?
Bleeding the brakes and removing air bubbles or contaminants from the brake system of a motorcycle is an essential maintenance task that ensures optimal braking performance and safety. This is even more crucial for ABS-featured motorcycles, as it not only restores the responsiveness and effectiveness of the brakes but also ensures proper ABS performance.
The development of moisture and air bubbles inside the hydraulic braking line not only hampers braking performance but also increases the danger level, affecting the ABS mechanism. However, if a motorcycle is equipped with ABS, the bleeding process requires specific steps that are slightly different from a non-ABS-fitted braking system. Here, we have a step-by-step guide for the maintenance procedure of ABS-featured braking systems.

Before you begin, gather the necessary tools and materials, such as the recommended type of brake fluid, a wrench or socket set, a brake bleeding kit (including clear plastic tubing), a catch container to collect the old brake fluid, and some clean cloth or a rag. However, check the motorcycle's manual to determine the recommended type of brake fluid, as it's essential to use the correct fluid for the ABS system.
Once you have collected all the necessary materials, ensure the motorcycle is parked on a level and stable surface. Wear protective gloves and safety glasses to shield your skin and eyes from brake fluid contact. Place an absorbent mat or rags beneath the brake calipers to catch any spilled brake fluid. You may also consider covering other sensitive areas of your motorcycle with protective material to prevent any damage.

Bleeding Process Of ABS-Featured Hydraulic Brakes
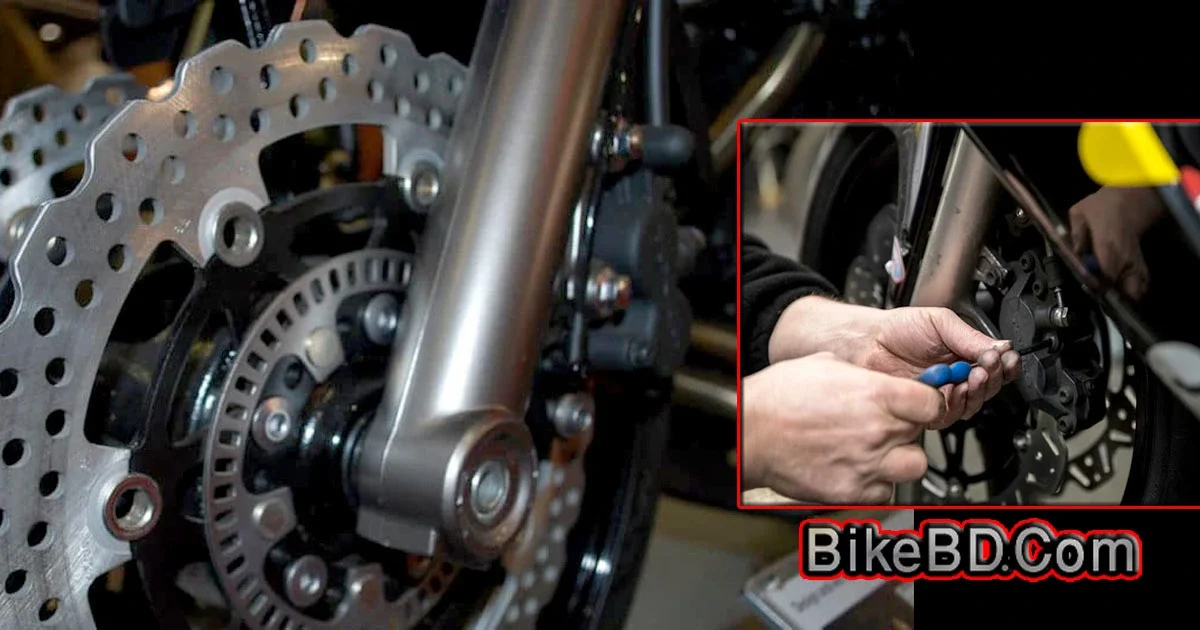
To start the bleeding process, first, identify the bleeder valves on the motorcycle's brake calipers. Bleeder valves are typically located on the caliper body and are protected by a rubber cap. There will be one bleeder valve per caliper. Begin bleeding the brake system from the farthest caliper from the master cylinder in an ABS baking line. If you're unsure, refer to the motorcycle's manual for specific instructions.
Next, remove the reservoir cap on the master cylinder, which is usually located on the handlebar. In the case of the rear brake, it is positioned near the brake lever. Check the reservoir fluid level and top it up if necessary. Keep the reservoir cap loose. This will relieve any pressure in the system and allow air to escape more easily during the bleeding process.
Then, take the clear tubing and connect one end to the brake bleeder valve. Place the other end of the tubing into the catch container. Ensure a secure connection to prevent any brake fluid from leaking. Using a wrench or socket set, carefully loosen the brake bleeder valve by turning it counterclockwise. Be cautious not to apply excessive force as it may damage the valve.
Begin the bleeding process with the assistance of someone else. Ask the helper to apply the brake multiple times and hold the brake lever or pedal firmly. Then, open the brake bleeder valve by twisting the wrench. This action will force the old brake fluid and air bubbles out through the tubing. After that, close the bleeder valve again.
Repeat this process multiple times. Don't forget to pour fresh brake fluid into the master cylinder reservoir, ensuring that the reservoir does not run dry during the bleeding process. Continuously monitor the fluid level and refill as needed. This will flush the entire braking line with fresh fluid. Once you observe a steady flow of new and clean brake fluid without any air bubbles in the tubing, tighten the brake bleeder valve by turning it clockwise.
Once you have successfully bled the farthest caliper, move on to the next farthest caliper if there are multiple brakes attached to the single braking line. Repeat the same bleeding process until you observe a clean and steady flow of new fluid. However, in the case of an ABS-featured braking system, it is necessary to flush out the entire brake fluid from the braking line. Remember to refill the reservoir with fresh brake fluid every time.
Finally, verify the brake fluid level in the master cylinder reservoir and top it up if necessary. After confirming the proper level, firmly tighten the reservoir cap and the bleeder valves on each brake caliper. Use an appropriate cleaner to remove any spilled brake fluid or wash with mild soap and water, as brake fluid can damage painted surfaces.
So, you have successfully bled the ABS-featured motorcycle brakes. Before riding, remember to test the brakes to ensure they are functioning properly. If you encounter any issues or are unsure about the process, it's always recommended to consult a professional for assistance. However, that's the process of bleeding ABS-featured motorcycle brakes. By following these steps, you can confidently execute the bleeding process and ensure a safe and enjoyable riding experience.


