Shares 2
How To Bleed The Dual Front Brakes Of A Motorcycle?
Last updated on 24-Aug-2025 , By Saleh
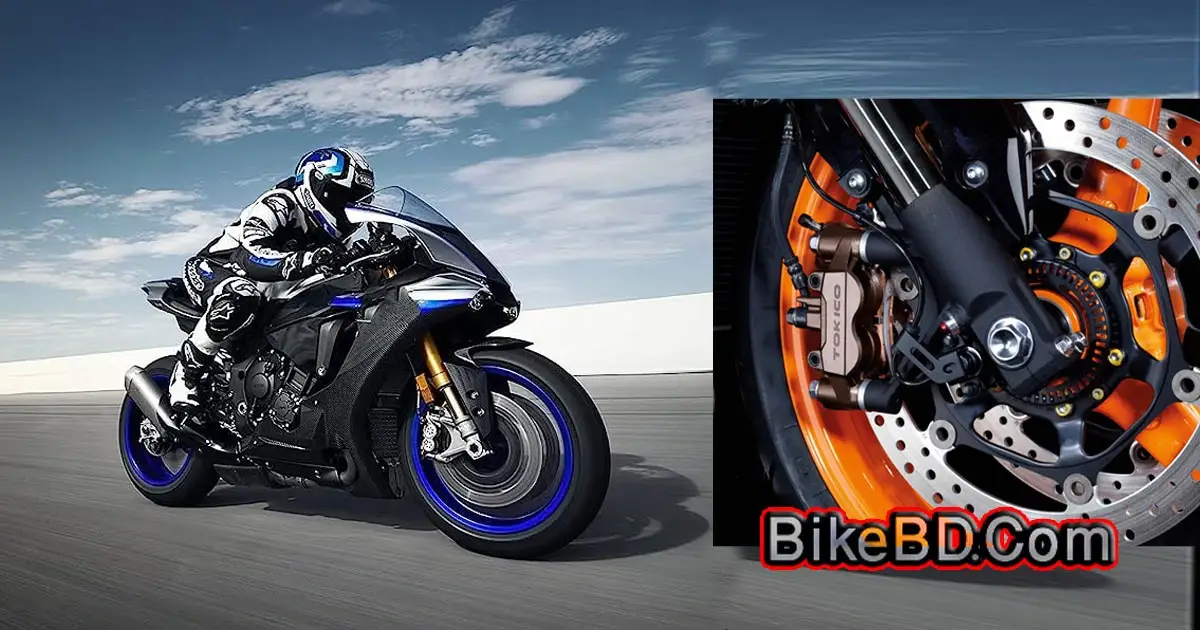
Bleeding the brakes of a motorcycle is an essential maintenance task that ensures optimal braking performance and safety. However, motorcycles equipped with dual hydraulic disc brakes in the front wheel require extra care to maintain and bleed the braking system while keeping both brakes synchronized. So, here we will walk you through the process of bleeding the dual front brakes of a motorcycle. By following our instructions, you can effectively bleed the braking system, leading to improved brake responses and a smoother riding experience.
Also Read: Top 7 150cc Dual Purpose Bikes In Bangladesh
Also Read: Revamp Bike Price in Bangladesh

How To Bleed The Dual Front Brakes Of A Motorcycle?
The dual hydraulic disc braking system is a common feature found in higher-capacity and high-end motorcycles. It not only enhances braking performance but also ensures stability and balance during braking across various riding conditions and surfaces. However, in construction, the dual braking mechanism is not overly complex; it functions as a pair of two separate braking systems.
Also Read: SR/F Price In Bangladesh
During maintenance, the dual hydraulic disc brake can be treated simply as a pair of single-disc braking systems. When bleeding the system, each brake can be bled separately, one after the other. Consequently, if you can bleed one system, you can also bleed the other by following the same procedure. In this article, we will provide a step-by-step procedure to assist you. Let's proceed with the following sequence.
Preparing the Motorcycle for Brake Bleeding: Gather the Required Tools and Materials
Prior to initiating the process of bleeding your motorcycle's hydraulic braking system, it is vital to ensure that you have arranged the essential tools and supplies mentioned below. For more comprehensive instructions, you can consult your motorcycle service manual. The following are the general tools and equipment you may require.
- Brake fluid of the recommended grade (refer to the manual to determine the correct type and grade).
- A wrench or socket set to loosen the bleeder valves.
- Screwdrivers for opening the master cylinder.
- Clear plastic tubing that fits the bleeder valves.
- A clean container to collect the drained brake fluid.
- A brake bleeding kit (optional).
- Cotton rags.
Once you have gathered all the necessary tools, park your motorcycle on a level surface using either the center stand or a paddock stand. For any specific instructions, consult the motorcycle's manual. Locate the brake fluid reservoir, the corresponding caliper, and the bleeder valve on the caliper. Before commencing the task, thoroughly clean the entire assembly to prevent any contamination from dirt or debris.
Initiate Brake Bleeding from One Brake
To begin the process, initiate by thoroughly cleaning the brake assembly to eliminate any dust or dirt buildup. Open the master cylinder or fluid reservoir of a single brake, such as the right-side or left-side brake. If the fluid level has fallen below the recommended mark, add an appropriate amount of brake fluid to the master cylinder.
Identify the bleeder valve on the respective brake caliper, which is typically a small metal nipple covered by a rubber cap. If necessary, consult the motorcycle manual to locate the bleeder valve. Attach the clear plastic tubing securely onto the bleeder valve of the corresponding brake caliper. Ensure the other end of the tubing is immersed in a clean container.
Next, press the brake pedal several times and hold it down firmly. Gradually open the bleeder valve using a wrench or socket, allowing the fluid to flow into the tubing while the brake pedal moves further downward. At this point, promptly close the bleeder valve tightly using the wrench. Finally, release the brake pedal slowly.
Also Read: Revamp Moto RM Mitra 02 Price in Bangladesh | BikeBD
To effectively purge the old fluid and air bubbles from the brake mechanism, repeat these steps multiple times until a steady flow of clean brake fluid emerges without any air bubbles. When completed, securely close the bleeder valve and ensure the master cylinder cap is tightly sealed after refilling the fluid to the recommended level. So you have done the bled one side of the front brake. Next, proceed to the other side of the front brake and repeat the same process until all brakes have been bled.
Throughout the entire bleeding process, remember to regularly inspect the brake fluid reservoir to prevent it from running dry. If necessary, top up the reservoir with fresh brake fluid of the recommended grade. Be cautious not to introduce air into the system during the procedure. Additionally, having an assistant to aid you during the bleeding process can be very helpful.
Perform A Test Ride To Confirm And Recheck
Once you have completed bleeding both front brakes individually, it is crucial to conduct a thorough test to ensure their functionality. Begin by firmly pressing the brake pedals to evaluate their firmness, consistency, and responsiveness. The brakes should provide a solid feel without any sponginess. If everything appears satisfactory, double-check that all the bleeder valves on both brakes have been securely tightened. Additionally, verify that the reservoir cap is tightly sealed.
Also Read: Ujaas eGo LA Price In BD - BikeBD
If any brake fluid has been spilled, clean it up using water and dispose of the old fluid safely. After these steps, proceed to take the motorcycle for a short test ride in a secure area. During the ride, carefully assess the brake system's performance to ensure there are no unusual sensations or discomfort. Should any irregularities be detected, it is advisable to recheck the braking system and repeat the bleeding process. For more complex issues, seeking assistance from professionals at nearby motorcycle service shops is recommended.
T
Published by Saleh


